
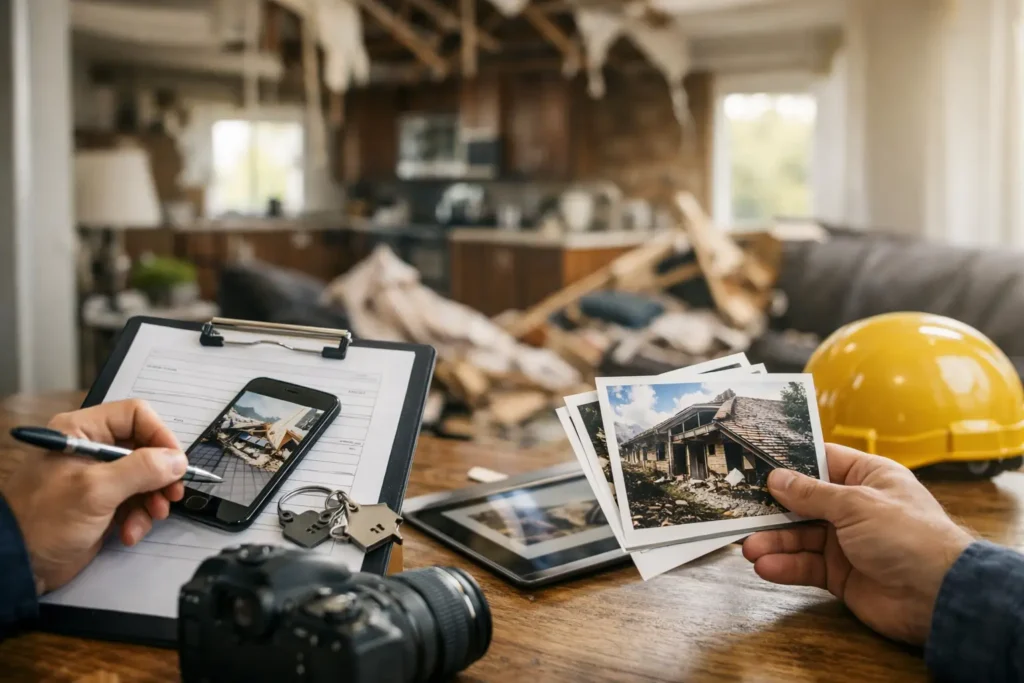
A burst pipe can soak drywall before breakfast. A storm can expose a roof overnight. A kitchen fire can leave smoke residue in rooms that look untouched. In those first stressful hours, this property claim documentation guide gives you one job: create a clear record of what happened, what was damaged, and what was done to protect the property.
Good documentation does more than support an insurance claim. It helps prevent missed damage, reduces confusion between adjusters and contractors, and gives you a dependable timeline when decisions need to be made quickly. You do not need restoration experience to get started. You need safe access, a phone or camera, and a consistent process.
Start With Safety and Damage Control
Do not document at the expense of safety. If there is an active fire risk, standing water near electrical outlets, a sewage backup, structural instability, or a storm-damaged roof, keep people out of the affected area until it is safe. Call emergency services when needed, then contact your insurer and a qualified restoration professional.
Once the immediate danger is controlled, take reasonable steps to prevent additional damage. Shut off the water supply if a pipe has failed. Place a tarp over an exposed roof if it can be done safely. Move dry furniture away from wet materials. Keep receipts for emergency supplies and services, because these costs may be part of the claim.
There is a practical balance here. Insurance carriers expect property owners to mitigate further loss, but they also need to see the original damage. Photograph and video the condition before cleanup begins whenever possible. If emergency extraction or board-up cannot wait, document quickly and let the work proceed. Waiting for a perfect set of photos can turn a manageable loss into a much larger one.
Property Claim Documentation Guide: Capture the Scene
Begin with wide photos and video. Stand at the entrance of each affected room and capture the overall condition, then move closer to record specific damage. A slow video walkthrough is useful because it establishes location and scale. Narrate only if it helps clarify what you are seeing, such as the source of a leak or the path water traveled through the building.
Then take detailed photos of damaged materials and belongings. Include stained ceilings, buckled flooring, wet insulation, warped cabinets, damaged baseboards, soot-covered surfaces, broken windows, roof openings, and standing water. Photograph serial numbers, model labels, and receipts for higher-value items whenever available.
For water, sewage, fire, and smoke losses, visible damage is only part of the story. Water can wick behind walls. Smoke residue can travel through HVAC systems. Moisture can remain under flooring after the surface feels dry. This is where professional moisture mapping, thermal imaging, and documented drying readings matter. They create evidence of conditions that a standard photo may not show.
Do not edit photos, apply filters, or delete files that seem redundant. Keep the original images and organize copies into folders by date and room. Your insurer may not need every image, but having a complete record protects you if questions arise later.
Build a Timeline While Events Are Fresh
A simple written timeline can be one of the strongest parts of your claim file. Start with when you first noticed the problem, what you observed, and what immediate actions you took. Add the dates and times of calls with your insurer, plumber, restoration company, roofer, or property manager.
Your notes do not have to sound formal. Clear facts are more useful than polished language. For example: “March 14, 6:40 a.m. – found water flowing from the second-floor supply line into the living room ceiling. Shut off main water at 6:48 a.m. Called insurance at 7:05 a.m.”
Continue the timeline as work progresses. Record when extraction started, when drying equipment was placed, when an adjuster inspected, and when materials were removed or repairs began. If there are delays, document those too. A timeline gives everyone involved a common set of facts and helps separate pre-existing concerns from damage caused by the current event.
Create an Inventory Without Guessing
For damaged personal property, work room by room. List the item, brand, model, approximate age, original purchase price if known, and condition before the loss. Add photos, receipts, credit-card statements, manuals, or product registration details where available.
Do not guess at values just to finish the list quickly. If you cannot remember a purchase price, note that and look for supporting records later. Online order histories, email receipts, bank statements, and photos from before the loss can help establish ownership and condition.
For commercial properties, inventory should also include damaged stock, equipment, tenant improvements, furnishings, and records that may affect operations. Business interruption coverage, if included in the policy, often requires a separate set of financial documentation. Keep lost-revenue records, payroll information, temporary relocation costs, and invoices for emergency measures in a dedicated file.
Keep Every Claim-Related Record Together
Claims become harder when information is scattered across text messages, paper invoices, voicemail, and multiple email accounts. Create one digital folder and one physical folder for the loss. Save documents as they arrive, and use straightforward names that make them easy to find later.
Your file should include these core records:
- The insurance policy, claim number, and adjuster contact information
- Photos and videos from before mitigation, during cleanup, and after repairs
- A written timeline of the loss, inspections, conversations, and work completed
- Estimates, invoices, drying logs, moisture readings, and contractor reports
- Receipts for temporary repairs, lodging, storage, cleaning, and replaced essentials
- Written approvals, claim decisions, and correspondence from the insurance carrier
Ask contractors for itemized documentation, not just a total price. For mitigation work, that commonly includes the affected areas, equipment used, days of drying, moisture readings, materials removed, and disposal details. For reconstruction, it should show the scope of repairs, materials, labor, and any approved changes.
Communicate Clearly With Your Insurance Carrier
Report the loss promptly and write down your claim number. Ask your carrier what documentation they need, how they prefer to receive it, and whether they require an inspection before non-emergency demolition or repairs begin.
When you speak with an adjuster, follow up with a short email summarizing the conversation. This is especially helpful when there is a decision about coverage, a request for more information, or an agreement to proceed with a particular scope of work. Keep your message factual and specific.
Avoid signing a broad repair authorization or agreeing to a final settlement before you understand what it covers. Some damage is not visible until wet materials are removed or professional testing is complete. It is normal for a claim scope to change when concealed moisture, smoke contamination, or structural damage is discovered. The key is documenting why the additional work is needed and sharing that evidence promptly.
Do Not Throw Away Evidence Too Soon
Damaged materials may need to be removed to stop mold growth or make the building safe, but photograph them first. For significant items, ask whether the adjuster wants to inspect them before disposal. Keep samples or retain items only when your insurer or restoration team advises it and doing so does not create a health risk.
Sewage-contaminated materials, wet insulation, saturated carpet padding, and heavily smoke-damaged porous items often cannot be safely saved. That does not mean they should disappear without a record. Photos, measurements, removal logs, and disposal documentation can establish what was present and why removal was necessary.
Use Professional Documentation for Hidden Damage
A dry-looking room is not always a dry structure. Water can move under laminate flooring, behind cabinets, and into wall cavities. Fire and smoke can affect insulation, ductwork, and electrical components beyond the burn area. Storm damage can allow water intrusion long after the initial weather event.
This is why a qualified restoration team should document conditions with the right tools and reports. Moisture meters verify material readings. Thermal imaging can identify temperature patterns consistent with hidden moisture. Daily drying logs show that mitigation was monitored rather than guessed at. These records support a repair plan based on the actual condition of the building.
For Metro Atlanta property owners, Elevated Operations can document the emergency, coordinate directly with the insurance process, and carry the work from mitigation through reconstruction. That means the photos, readings, invoices, and repair scope are connected from the first response through the final rebuild.
The Documentation Mistakes That Slow Claims
The most common mistake is waiting. Water damage changes by the hour, and cleanup can erase valuable evidence. The next is relying only on verbal conversations. If a coverage question, work authorization, or repair decision matters, get it in writing.
Another problem is treating mitigation and reconstruction as unrelated projects. They are connected. If flooring, drywall, cabinetry, or roofing must be replaced because of the loss, the claim file should show the chain from initial damage to testing, removal, drying, and repair.
Finally, do not let paperwork become a reason to delay emergency work. Protect the property first, document as you go, and keep the records organized. A complete file will not guarantee coverage, because every policy and loss is different, but it gives your claim the clear foundation it needs to move forward.
When your property is disrupted, control starts with the next documented step. Take the photos, save the records, and make sure every necessary repair has evidence behind it.